Author Info
Hi, I'm Sedef! I'm from Turkey. This is my nail art blog. I share all about nail art and polish. I love designing patterns, doing DIY projects and animals.Happy to welcome you to my blog.
Popular Posts
-
Hi everybody. Today I'm gonna swatch GOLDEN ROSE COLOR EXPERT NO 10 & 44 & 102 for you. I love these colors. I l...
-
HI EVERYBODY! Here are my latest nail polish shopping . All of it are nail polishes except one. I bought Long Stay Lipstick 10...
-
Hi everyone Today I'm gonna share my review on Liquid Tape Latex "Lulaa" . I bought it from Aliexpress...
-
Hi everyone. Here is my first MANI OF THE DAY and my guest is Flormar Pearly Salmon Dust . Flormar's Pearly Collectio...
-
HI THERE! I wanted to create a look for Rio 2016 Olympics . I know it's not perfect but I really wanted to do it for a change. ...
Blog Archive
-
▼
2016
(21)
-
▼
Temmuz
(16)
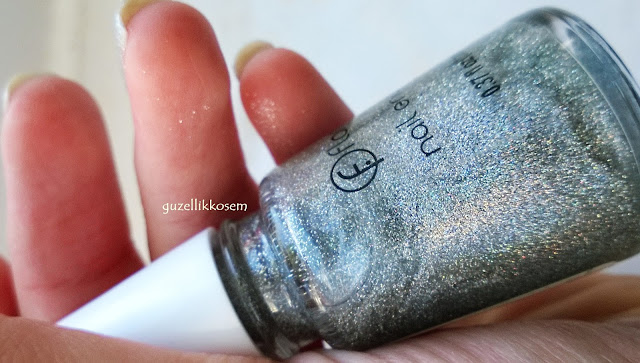
- FLORMAR 394 GOLDEN ORCHID & 392 HOLOGRAPHIC SILVE...
- PINK DOTTING NAIL ART- DOTTICURE
- GOLDEN ROSE COLOR EXPERT NO 10 & 44 & 102 REVIEW A...
- STRIPING TAPE LINE WITH FLOWER STICKERS NAIL ART
- TWO COLOR STAMPING NAIL ART (HEART DESIGN)
- HOW TO DO dry brush technique NAIL ART
- FLORAL flower pattern NAIL ART
- NAIL POLISHOPPING (GOLDEN ROSE HAUL)
- FLORMAR MATTE M27 HAVANA and M29 HIGH SOCIETY SWA...
- NAIL POLISHOPPING 3 (FLORMAR HAUL)
- STAMPING HALF-LACE MANICURE
- DEBORAH SMALTO GEL EFFECT NAIL POLISH NO: 54 REVIE...
- METALLIC OMBRE NAIL ART
- ALIEXPRESS White Peel Off Liquid Tape Latex "Lulaa...
- HOW TO DO STAMPING NAIL ART
- NAIL POLISHOPPING 1
-
▼
Temmuz
(16)
Followers
Labels
- aliexpress (3)
- alix avien (3)
- avon (1)
- china glaze (2)
- deborah (1)
- dry brush technique (1)
- essence (1)
- flormar (11)
- flormar nail enamel (1)
- flormar pearly collection (1)
- flower (1)
- free hand designs (4)
- golden rose (10)
- golden rose matte (2)
- golden rose paris collection (1)
- haul (1)
- liquid tape latex (1)
- lulaa (1)
- mani of the day (1)
- motd (2)
- nail art (9)
- nail polish (13)
- nail stamping (4)
- nails (3)
- note (1)
- peel off (1)
- review (2)
- revlon (2)
- rimmel london (3)
- rimmel london nail nurse (1)
- sally hansen (1)
- shopping (3)
- sponge technique (2)
- stamping (5)
- swatch (8)
- Turkey (1)
- watsons (1)


